Chicken pot pie has been one of the most requested recipes in the last year or so. I honestly never got the hype… until I made it!
Growing up, you would never see this kind of comfort food at my family’s table. So to me, chicken pot pie was a bit of a foreign concept. Of course, now that I’ve put this recipe together, I learned that it’s one of the simplest things to make.
And yes, it does work for meal prep. I encourage you to make this for your family holiday table OR for comforting work lunches.
What you need to know about this chicken pot pie recipe:
- To make our lives easier, I recommend using pre-made pie shells, found in the frozen or refrigerated section. That being said, if you love making your own crust, go for it!
- The filling itself is freezer-friendly. So if you have extra, you can freeze it for later in the season! I also think the filling is completely edible and delicious on its own.
- You can use ANY leftover veggies you have in this recipe. I had no idea before making this, but the pot pie was invented with leftovers. Leftover chicken and veggies normally made up the filling so whatever you have can go in.

The fact that chicken pot pie was traditionally made with leftover chicken frustrated me a little when doing recipe research. If you have leftover chicken to use, that’s great. But this recipe does include instructions for cooking the chicken too.
I am really, really proud of this recipe and I hope you love it! My partner said I nailed it. He’s not a huge foodie, but he couldn’t stop talking about how good this pot pie was.
Storage & reheating notes
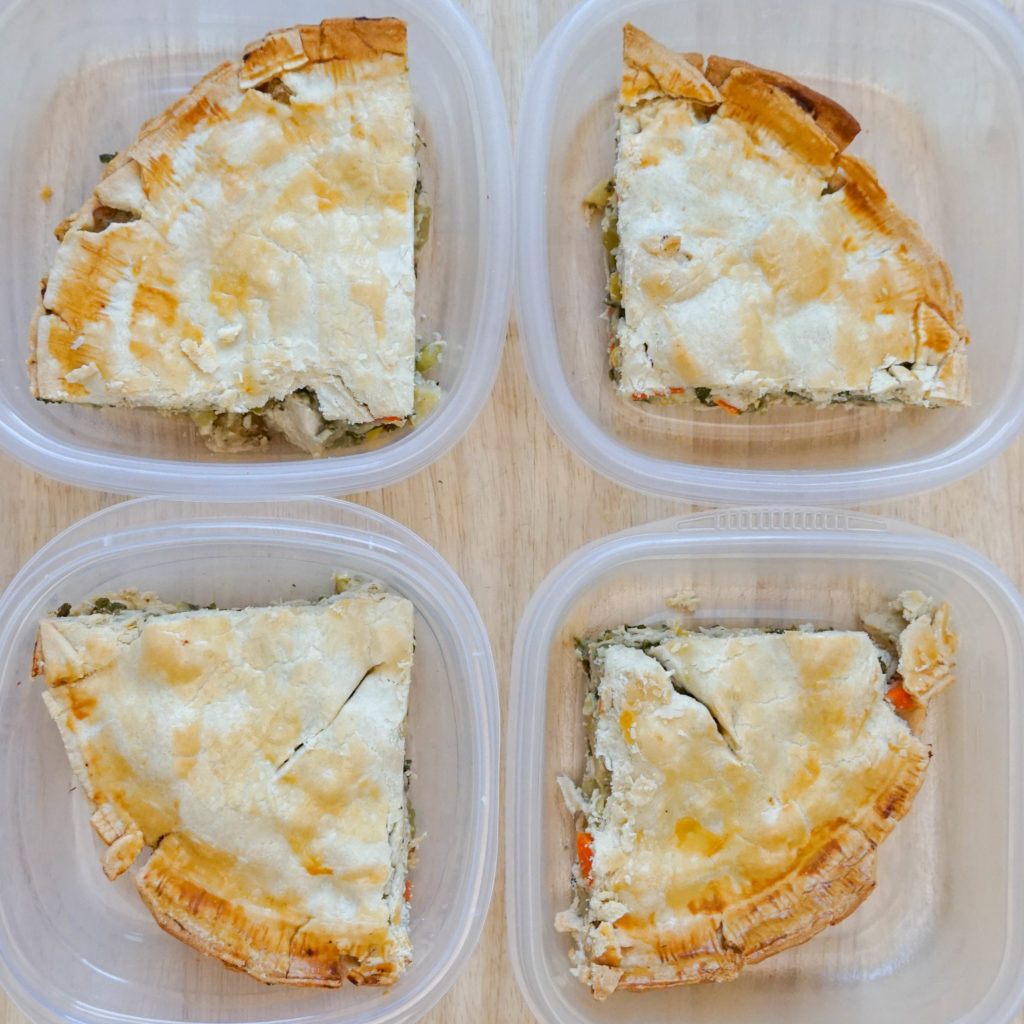
You can serve this immediately OR put it in meal prep containers. Let it cool before cutting if you’re meal prepping it. It will last in the fridge for up to 4 days and in the freezer for up to 6 months. Note that if you prep this, the crust won’t be as crusty after you reheat it, but it’s still really good. You can reheat it in the microwave or in the oven.
Happy prepping!

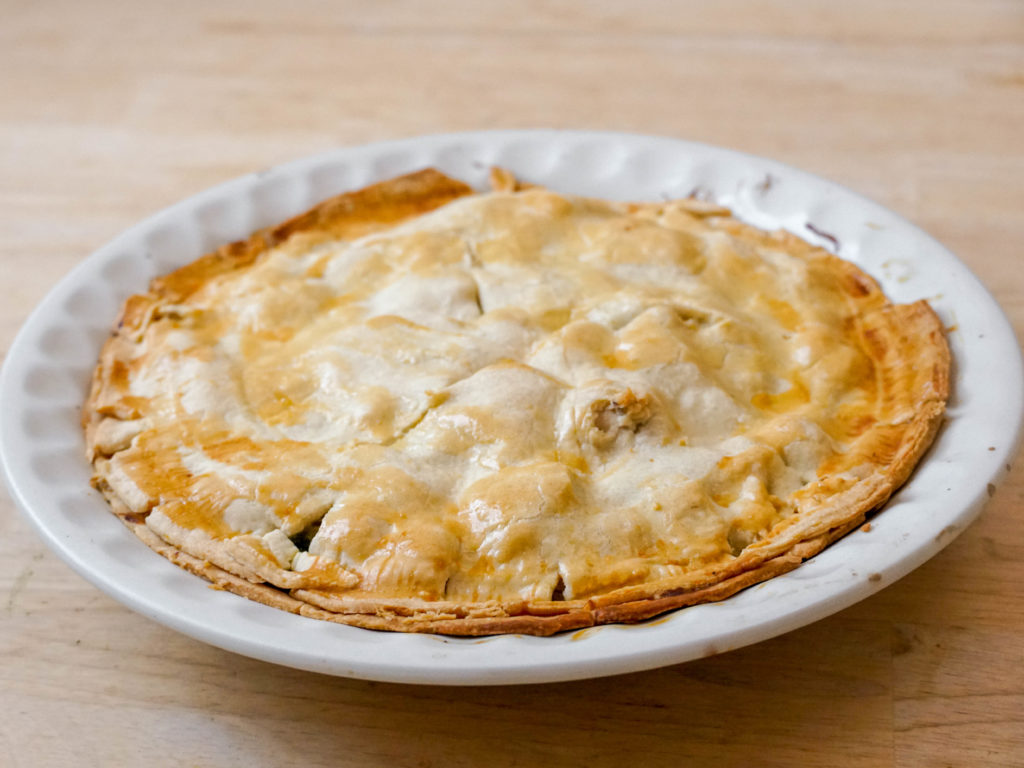
Easy Chicken Pot Pie For Meal Prep (Or Your Holiday Party)
Ingredients
- 2 pie crusts defrosted, I used Pillsbury frozen crusts
- 16 oz chicken breast chopped into medium-sized chunks
- 2 tsp ground thyme divided
- 2 tsp dried dill divided
- salt and pepper to taste
- 1 TBSP olive oil divided, sub oil of your choice
- 2 yukon gold potatoes chopped
- 2 carrots chopped
- 2 celery sticks chopped
- 1 onion diced
- 1 clove garlic diced
- 1 cup chicken stock sub broth, but then reduce the amount of salt you’re using!
- 1/2 cup frozen corn
- 1/2 cup frozen peas
- cooking spray
- 1/4 cup flour
- 1 cup milk of your choice I used 2%, if you use non-diary, offset sweetness with more salt, onion powder or nutritional yeast
- 1 egg whisked, optional
Instructions
- Preheat your oven to 350 F. Prepare a pie dish with cooking spray and add one of the pre-made crusts to it if using. Prick the crust with a fork a few times and pre-bake it for about 10 minutes (until it’s lightly browned). Remove it and let it cool when it’s done, but keep the oven on!
- Add 1 TBSP oil to a large skillet or dutch oven over medium heat. After 2 mintues, add the chicken breast. Season it with salt, pepper, half of the dill and half of thyme. Rotate the chicken breast every few minutes and let it cook completely through, about 10 minutes. Remove it from the pan and set aside.
- Add half of the chicken stock to the pan and use a spatula to scrape up the brown bits (this is called deglazing the pan). Add the onions and potatoes with salt and pepper and cook them for about 5 minutes, stirring occasionally. Then add the carrots, celery and garlic with the remaining thyme and dill. Cover and cook for 7-10 minutes, stirring occasionally. If the pan looks dry, add a splash of chicken stock. The veggies are done when the potatoes are tender.
- While the veggies cook, chop up the cooked chicken into bite-sized pieces.
- Add the corn, peas and chopped chicken to the pan and stir. Sprinkle in 1/4 cup of flour and stir. Then, 1/2 cup at a time, add the milk and remaining chicken stock and stir. Bring the heat up and keep stirring so the mixture starts to thicken. Taste and adjust seasoning as needed (you may want to add more salt or pepper!).
- Pour the mixture into the pre-baked pie shell. It might not all fit, but the remaining filling is delicious on its own and it’s freezer-friendly. Top with the remaining pie shell. Cut 3 slits on top. Using a small brush or the back of a spoon, brush whisked egg on top of the pie shell. Bake for 20-25 minutes.
- You can eat this right away OR let it cool a bit before dividing it into meal prep containers.

