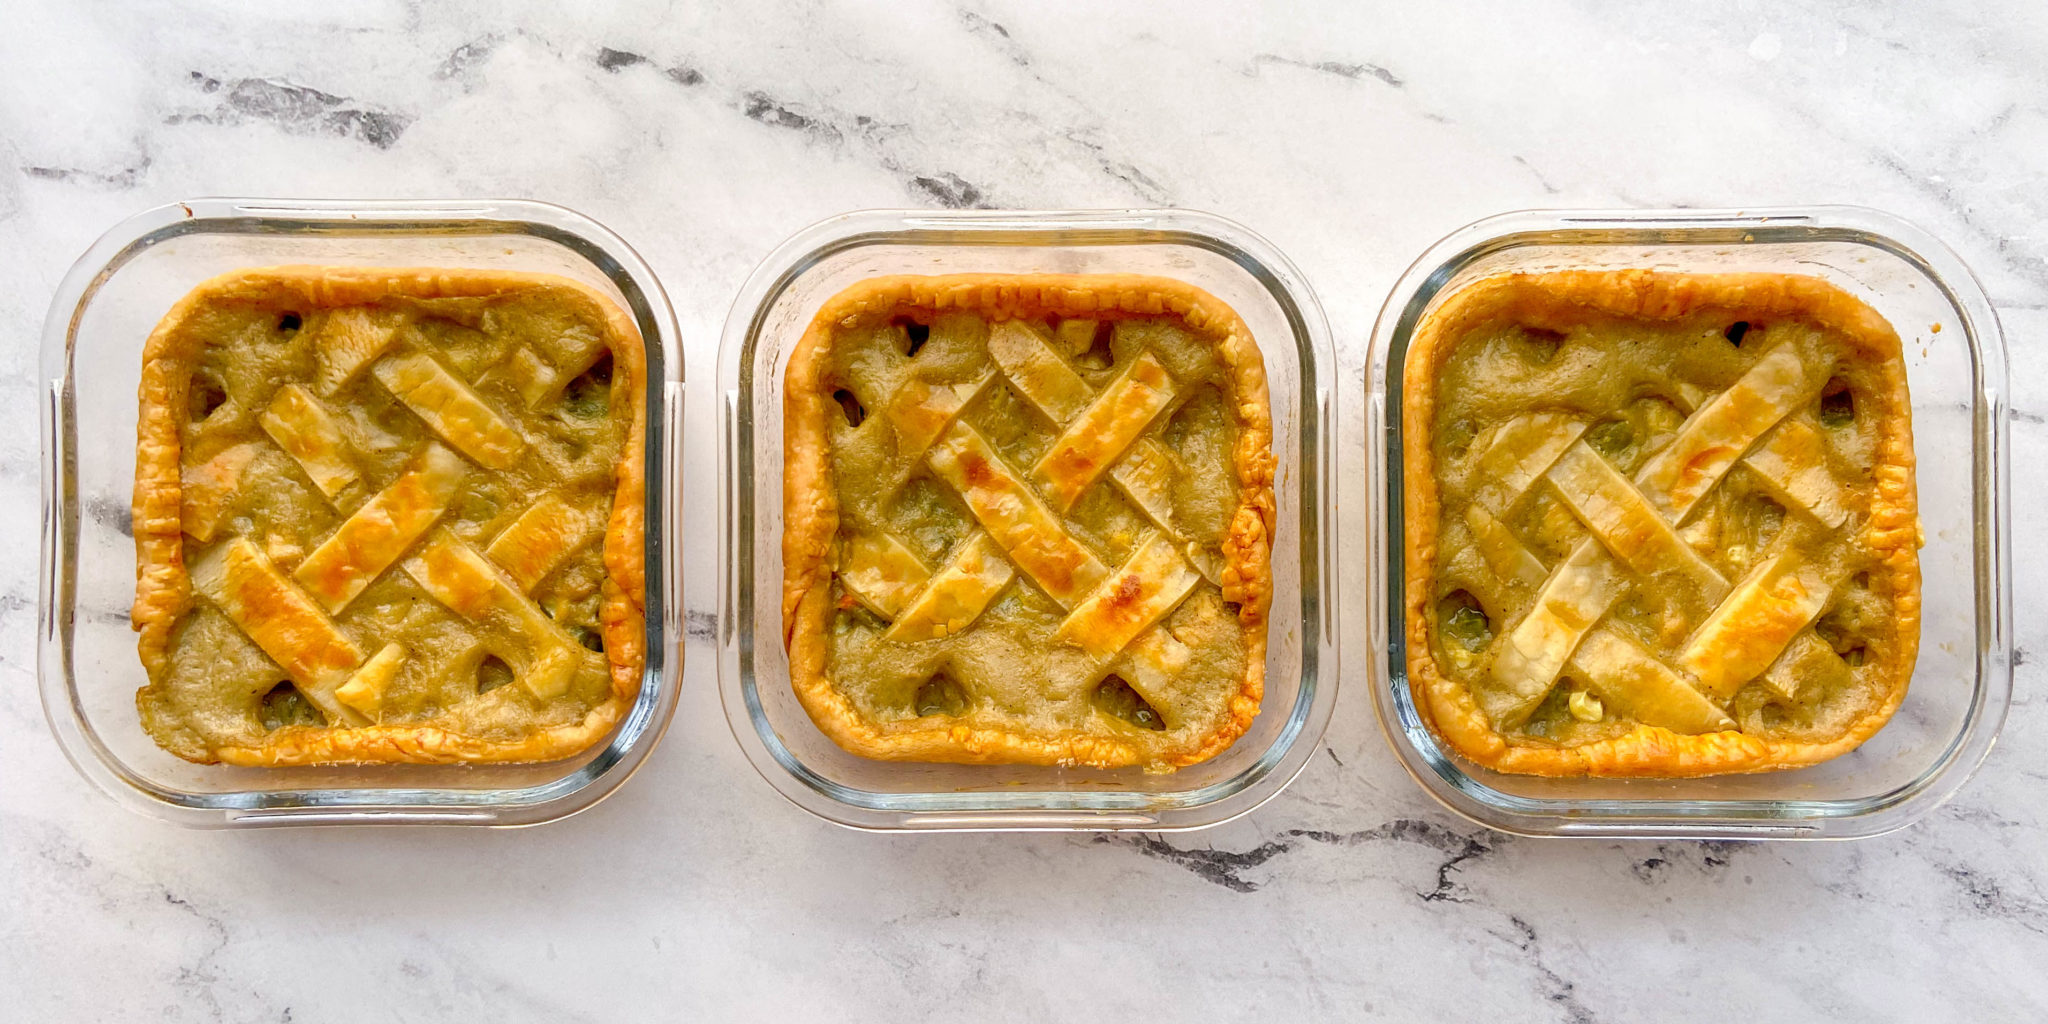
Why make a whole pot pie when you can make individual chicken pot pies? They’re ideal for meal prep. You can eat them all week and they’re a great size, or you can make some and freeze some. Having one (or three) of these in the freezer is never a bad idea.
Plus, anything miniature is kind of cute, right?
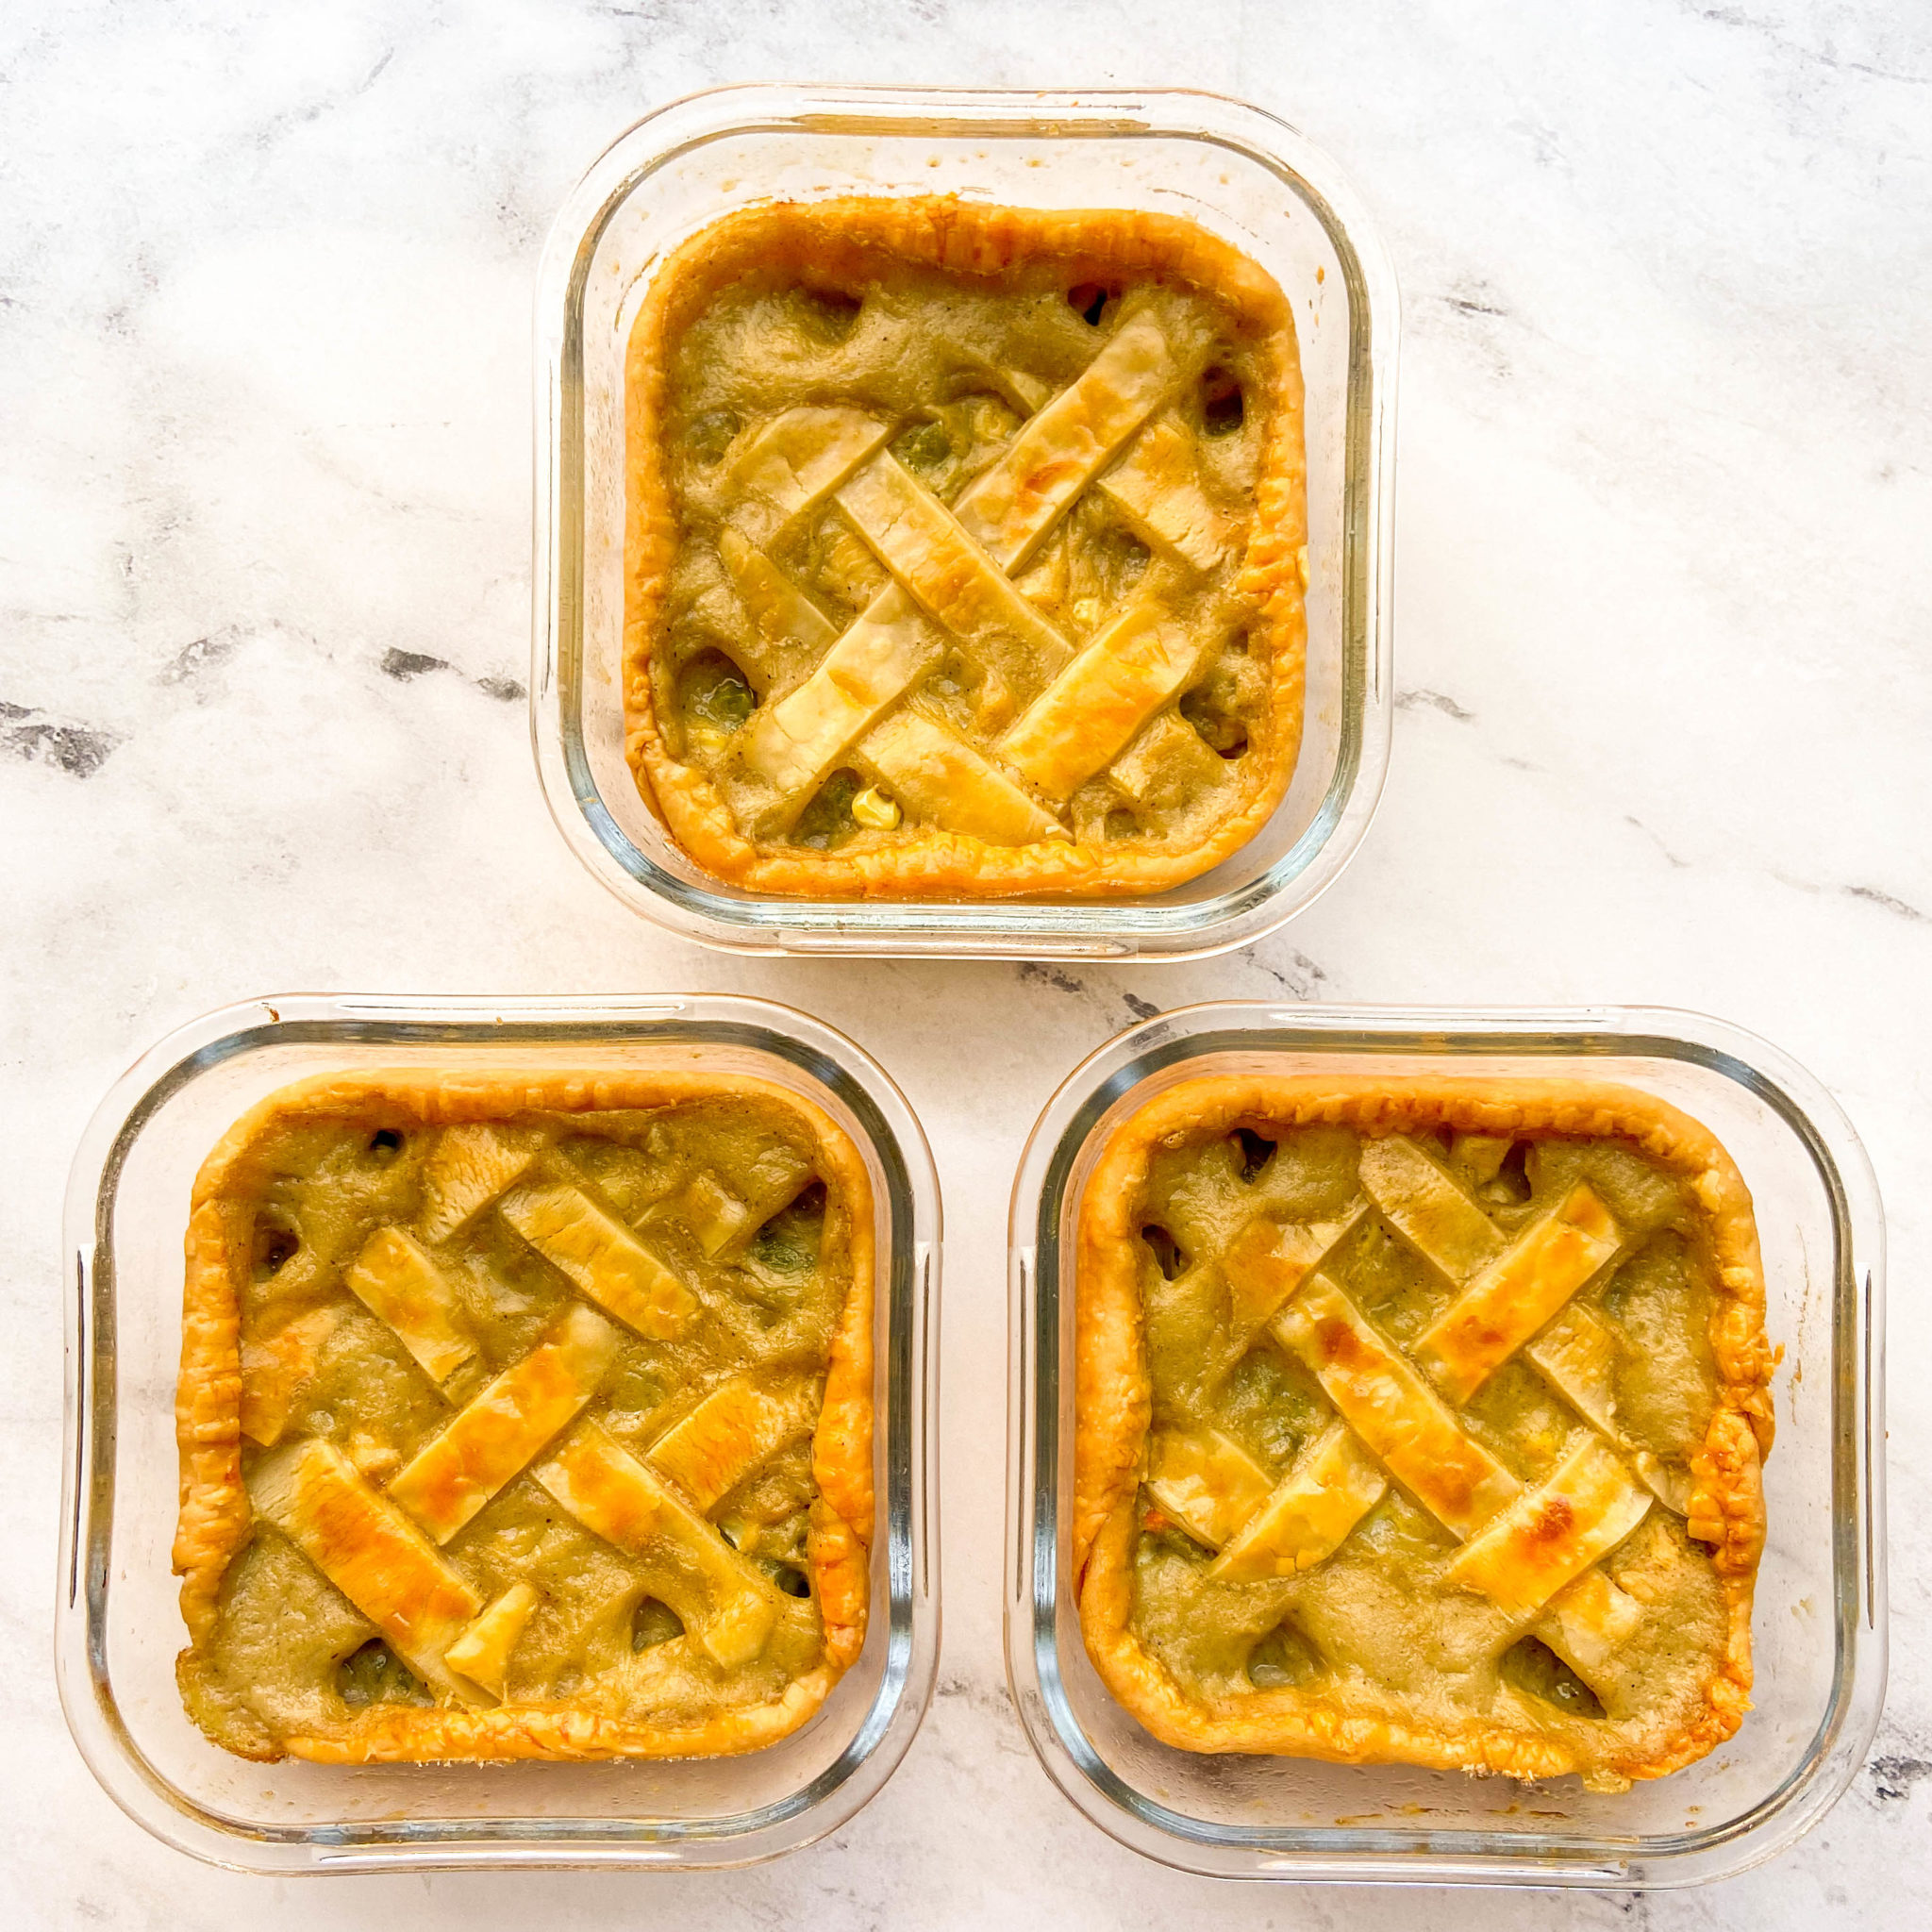
This method of baking a pot pie directly into meal prep containers saves time on clean-up and makes it easier to customize them, too. Plus, they cook more quickly because the containers are smaller, versus a larger pie or casserole dish. Score!
By the way, this method isn’t just useful for individual chicken pot pies. You can do it for lasagna, frittatas, breakfast bakes, mac and cheese, or any casserole/bake recipe your heart desires. Break them up into individual portions.
But before you do anything please make sure your containers are oven-safe. This is super important. You can do that by looking up the brand and model online or grab some of our recommendations linked below.
Get more recipes like this in the Workweek Lunch Meal Prep Program with access to our meal planning tools, grocery list generator, and more. Start a free trial today!
How to make mini pot pies
This recipe involves frozen veggies, chopped chicken (we’ll tell you how to cook the chicken), pre-made pie crust, and some extras like flour and chicken broth. You can do this. They only look fancy!
As always, there’s a ton of room for customization.
Basically, you’re cooking the veggies and chicken then tossing them in a homemade creamy sauce to hold it all together. You’ll then add the filling to your containers and top with the pie crust. You can put a layer of crust on the bottom of the container, too, if you want, but it’s not necessary. Finally, you’ll bake them to perfection and enjoy them all week long. (Or freeze!)
How to Customize this Recipe
These individual chicken pot pies are incredibly adaptable. Here are a few easy ways to make them your own:
- Swap chicken for turkey or leftover rotisserie meat
- Use puff pastry or crescent roll dough instead of pie crust
- Add fresh herbs like thyme or rosemary
- Mix in extra veggies you need to use up
- Skip the top crust and serve the filling over rice or potatoes
This is a great “clean out the fridge” recipe that still feels special.
What kind of containers should I use for mini chicken pot pies?
These two are our top preferred containers, but if you have something at home that you think might work, just be sure what you are using is oven-safe. If you plan to freeze some of these, unbaked, make sure they can go from freezer to oven (it’s never a bad idea, though, to keep a frozen dish in the fridge for a couple of hours before popping it in the oven.)
- Glass Containers (With Snap-Top)
- SouperCubes – Yes you can cook directly in these!
By the way, this recipe works as a normal pot pie too! You don’t have to use small containers. Break out your favorite pie dish and enjoy.
Dietary Swaps (Vegan / Gluten-Free / Dairy-Free)
- Vegetarian/Vegan: Use chickpeas, white beans, or lentils instead of chicken and swap in vegetable broth.
- Gluten-Free: Use a gluten-free flour blend for the sauce and a gluten-free pie crust.
- Dairy-Free: Choose plant-based butter and milk alternatives that work well for cooking.
The filling is forgiving and works well with lots of substitutions.
Can I freeze individual chicken pot pies?
Yes! You can freeze these after you cook them in the oven for up to 3 months. Once frozen, thaw in the fridge and heat up normally (microwave or oven).
You can also freeze them BEFORE you bake them. This is super helpful, and you might want to bake off a couple and freeze a couple for later, if you’re the kind of prepper who likes variety and gets bored after eating something twice in a week. Simply assemble them in the container, then pop them in the freezer instead of baking them right away. When you’re ready to eat, thaw for an hour just to take the chill off, and bake in the oven for double the normal time in the recipe as written.
Related: Freezer Meal Prep 101
The filling itself is freezer-friendly. So if you have extra, you can freeze it for later in the season! I also think the filling is completely edible and delicious on its own. It wouldn’t be bad tossed with rice.

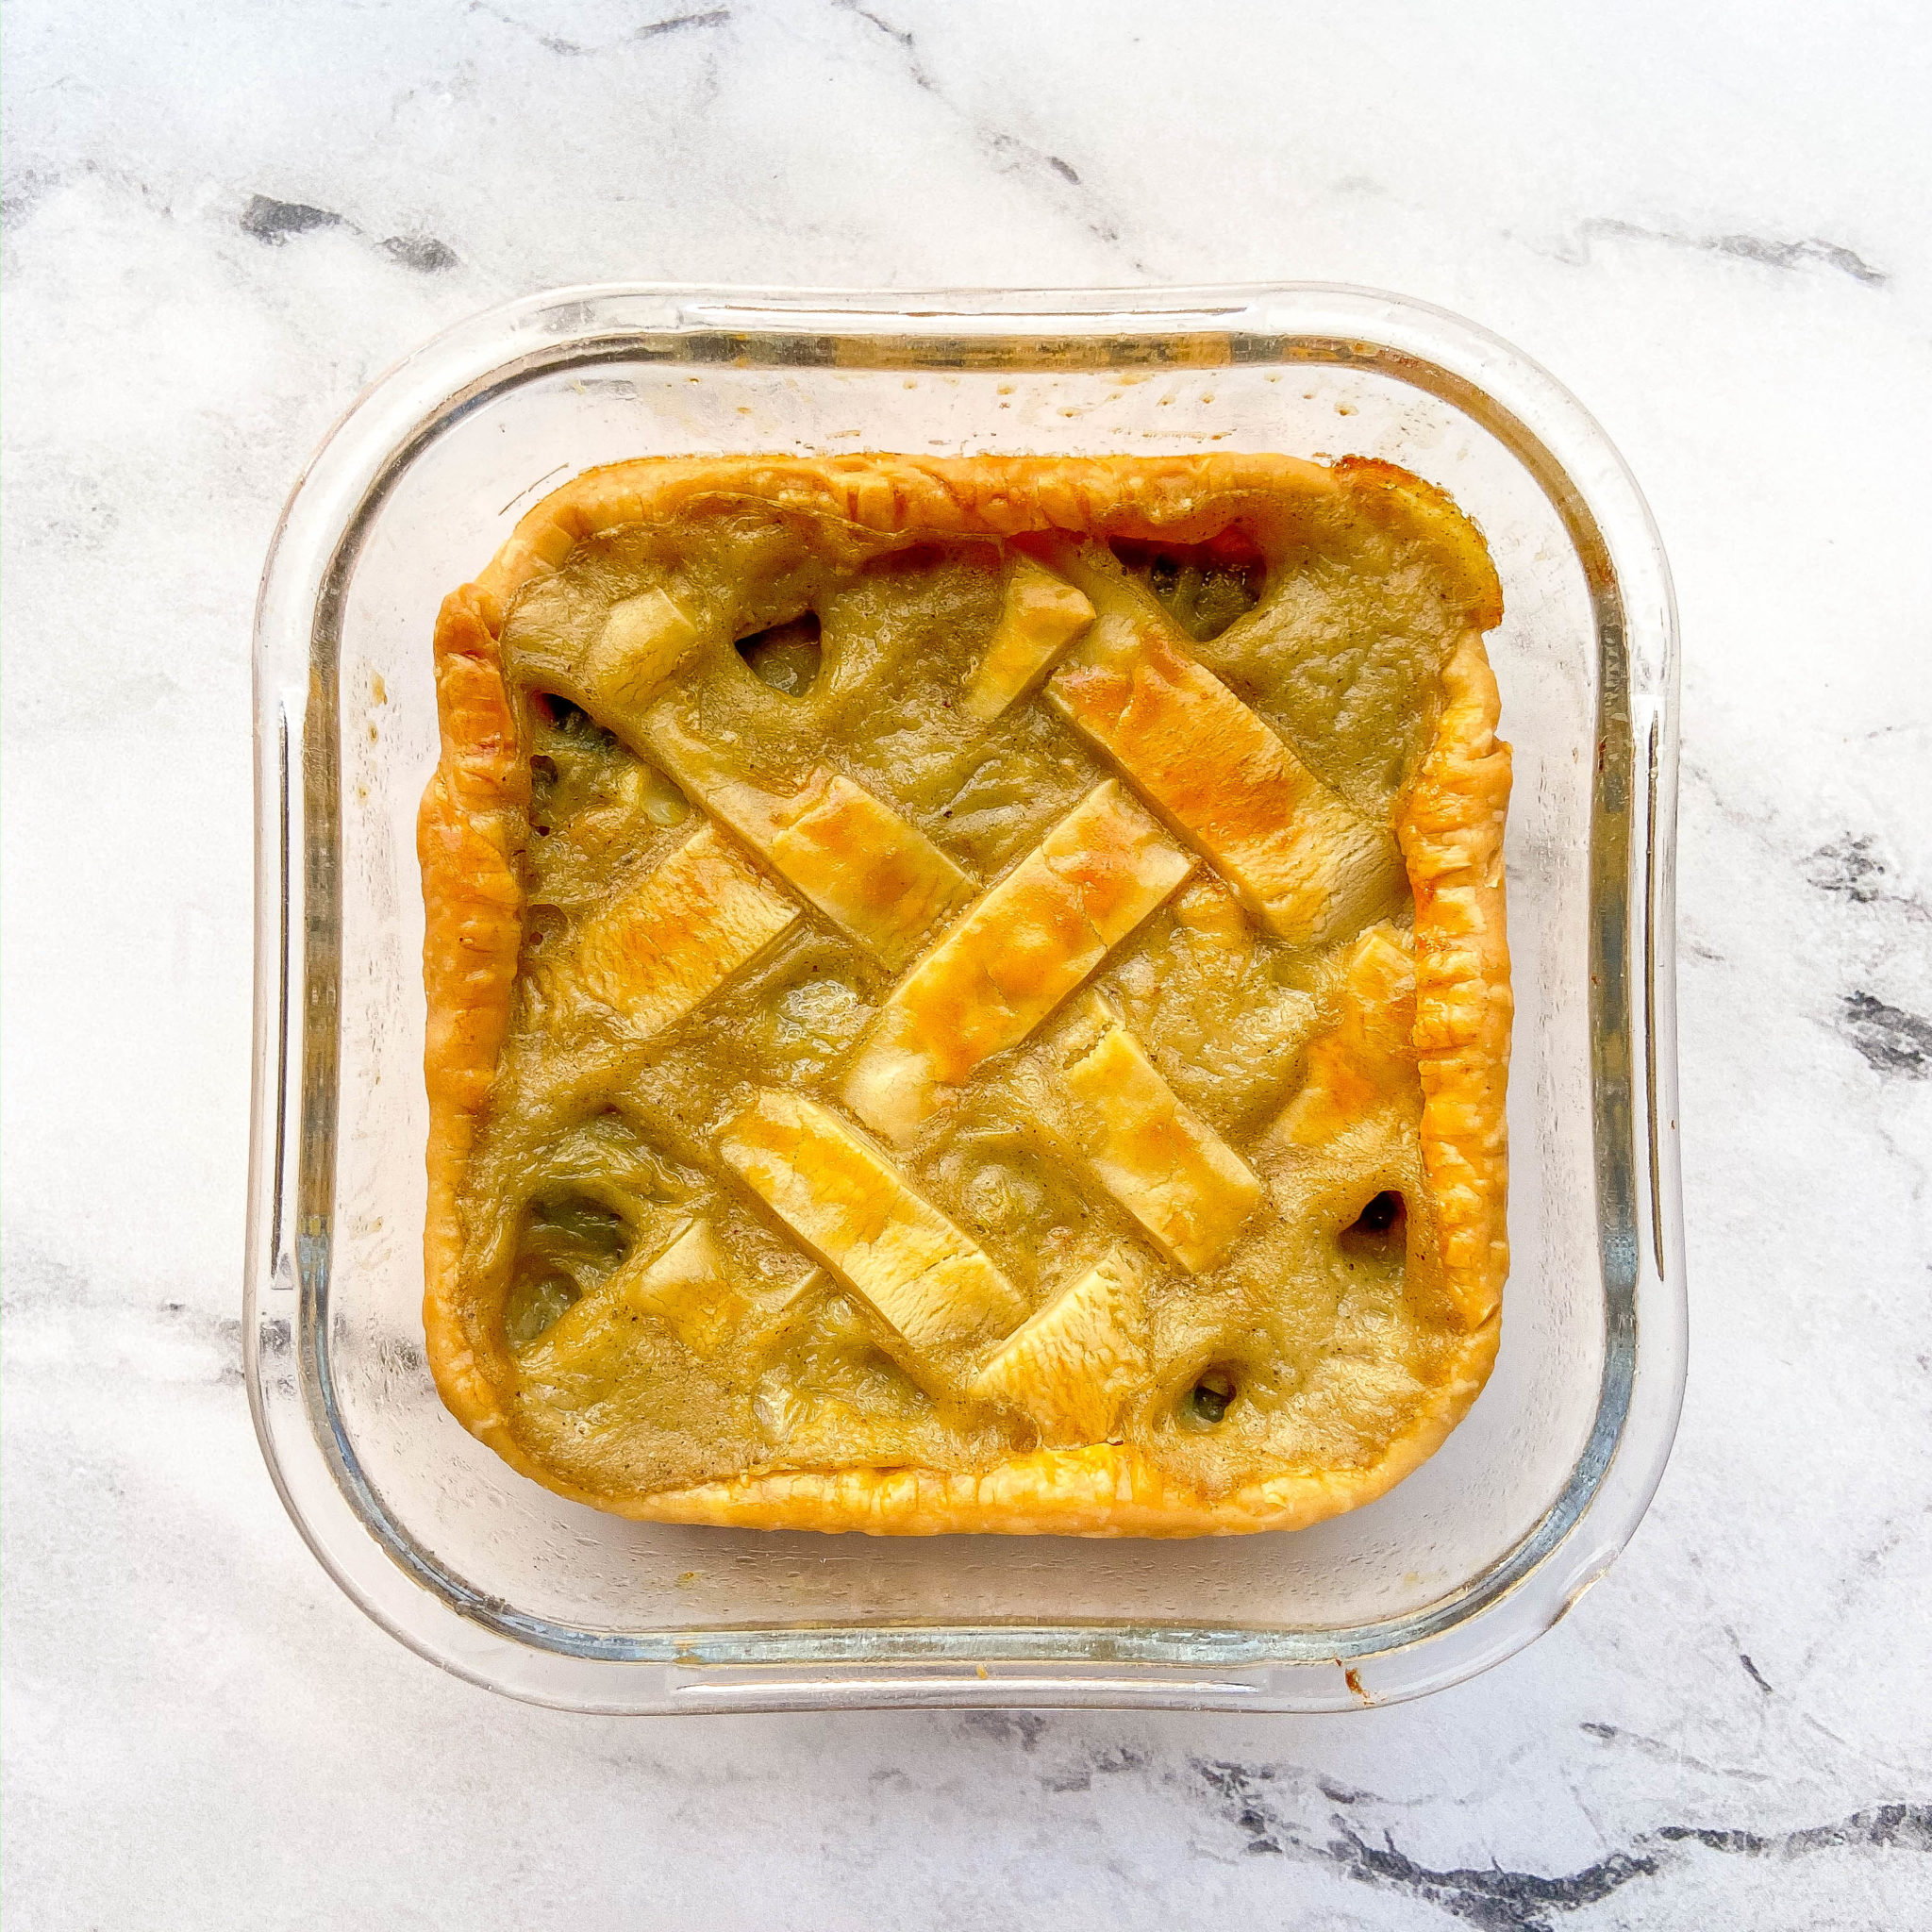
How to make the perfect crust for mini pot pies
The crust is arguably the best part of any chicken pot pie! Here are some different options for getting a perfect, flaky crust.
To make our lives easier, I recommend using pre-made pie shells, found in the frozen or refrigerated section. I used Pillsbury for these. It definitely saves time and the end result won’t disappoint.
That being said, if you love making your own crust, go for it! Here is a recipe if you want to try your hand at it. Pie crust is actually pretty forgiving and not hard to do.
You can also use puff pastry or crescent roll dough for the crust as well. It’s your call. Use whatever you prefer the most.
What kind of veggies to use in individual pot pies?
You can use ANY leftover veggies you have in this recipe. That’s because the pot pie is by definition comprised of leftovers! That’s why you often see common veggies like carrots and peas, traditionally, along with chicken.
Feel free to use turkey, ground meat, or anything else you want to use up. If you don’t want to use chickpeas in the veggie version, white beans would work, too.
I used a bag of frozen veggies for this, which included corn, peas, carrots, and green beans. But you can add any veggies you like! Here are some I would recommend:
- Broccoli
- Cauliflower
- Eggplant
- Mushrooms
- Potatoes
- Sweet Potatoes
- Cabbage
- Kale
- Onions of all kinds; just cook them down first!
Other Individual Casserole Recipes To Try
- Our Favorite Mac and Cheese Recipe
- Orange Baked Chicken
- Crispy Baked Buffalo Cauliflower Wings
- Refried Bean & Poblano Empanadas
- Ground Beef, Orzo, and Zucchini Casserole
How to store and reheat mini pot pies
You can serve this immediately OR put it in meal prep containers. Let it cool before cutting if you’re meal prepping it. It will last in the fridge for up to 4 days and in the freezer for up to 6 months. How’s that for a freezer find? Future you will be so happy you prepped these mini pot pies.
Note that if you prep this, the crust won’t be as crusty after you reheat it, but it’s still really good. You can reheat it in the microwave or in the oven. Happy prepping!
Other Pot Pie Recipes to Try
- Double Crust Chicken Pot Pie
- Chicken Pot Pie With Biscuits
- Chicken Pot Pie Casserole
- Crock Pot Chicken Pot Pie
- Vegan Pot Pie
FAQs
Absolutely. Beans, lentils, tofu, or leftover roasted vegetables all work well.
Nope. A top crust only is faster and still delicious.
Yes. Just be sure they’re cooked before adding them to the sauce.
It depends on container size, but most batches make 3-4 individual portions.
Yes. Just place containers on a baking sheet for easy handling.
Related Recipes
- Weekly Meal Planner
- Meal Prep Salad Recipes
- Cold Lunch / No-Reheat Meal Prep
- Meal Planning for Beginners
Ready to make meal prep feel easier (and cozier)?
Join the Workweek Lunch Meal Prep Program for flexible, satisfying recipes, smart planning tools, and support that fits real life. Start your free trial today!

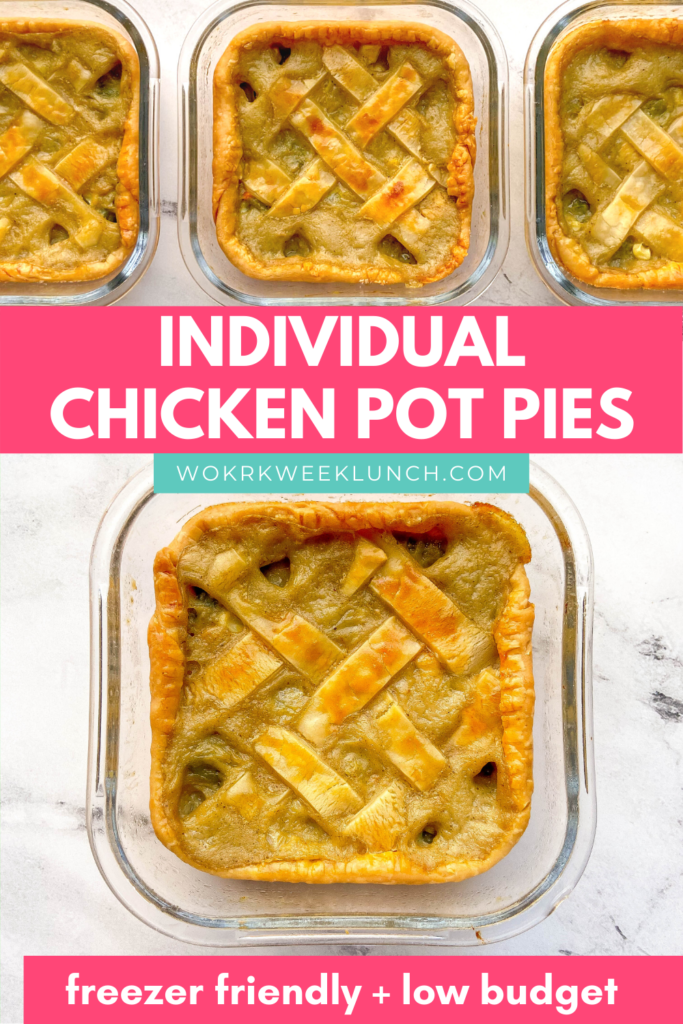
Mini Chicken Pot Pies
Ingredients
- 2 pie crusts I used Pillsbury refrigerated crusts
- cooking spray
- 1 Tbsp olive oil or oil of your choice
- 16 oz chicken breast cut into medium-sized chunks
- 2 tsp ground thyme divided
- 2 tsp ground sage divided
- Salt and pepper to taste
- 1/3 cup unsalted butter or oil of choice
- 1/2 onion diced
- 1 clove garlic diced
- 1/2 tsp salt
- 1/4 tsp pepper
- 1/3 cup flour
- 1-1/2 cup chicken stock substitute broth; reduce salt if using broth
- 1/2 cup milk, any kind if using non-dairy, add onion powder or nutritional yeast
- 1/2 tsp mustard powder optional
- 1-1/2 cups frozen mixed veggies I used corn, peas, carrots, and green beans
- 1 egg, beaten optional, sub coconut oil if egg-free
Instructions
- Preheat oven to 425 F. Prepare your glass containers with cooking spray. Roll out pie crust and cut strips that are slightly smaller than the height of your container (you'll need room for the container lid to close). Gently press the strips into the sides of your meal prep containers, pressing together strips as needed. (I skipped the bottom because it's so easy for them to get soggy and I wanted more room for filling. But if you love crust you can keep it! You may have to use scraps later for your pie lid.)
- Heat 1 tbsp oil to a large skillet or dutch oven over medium heat. After 2 minutes, add the chicken breast. Season it with salt, pepper, half of the sage, and half of the thyme. Rotate the chicken breast every few minutes and let it cook completely through, about 10 minutes. Remove it from the pan and set aside.
- Melt the butter in the pan over medium heat until it gets bubbly. Add the onion and cook for about 2 minutes, stirring frequently, until tender. Add garlic and cook for 1 minute more.
- Add flour, salt, pepper, mustard powder, thyme, and sage, and stir well until all the onions and garlic are coated and it resembles a thick paste. Continue stirring for another 2-3 minutes until the flour is no longer raw.
- Add chicken stock a half cup at a time, stirring constantly to prevent lumps, then add milk. Between each addition, stir until the mixture is fully combined. Continue cooking and stirring until the mixture is bubbly and thickened, about 5 minutes.
- Stir in chicken and frozen mixed vegetables. Let mixture return to a simmer for 5 minutes, then remove from heat.
- Pour the mixture into pie crust-lined containers. Leave some crust visible on the sides. It might not all fit, but the remaining filling is delicious on its own and it's freezer-friendly (or thin it out with water and make it into a soup!). Top with the remaining pie crust and, using your fingers or a fork, seal the lid. Cut 3 slits on top. Using a small brush or the back of a spoon, brush the beaten egg on top of the pie shell. Bake for 25-30 minutes.
- You can eat this right away OR let it cool a bit before putting the lid on.


Erica Gibbs says
Delicious recipe! The sauce is so good and the recipe was easy to follow.