This easy scone recipe is little bit different. You might say it feels a little bit like it has an identity crisis. Is it a scone? Or a cinnamon bun? It’s kind of both. This scone was borne out of real life struggles.
Do you find yourself sometimes trying to choose between something more involved (aspirational baking, thanks to so much food-related scrolling, amiright?) and something you can make relatively quickly (reality baking)? So often, reality baking wins out
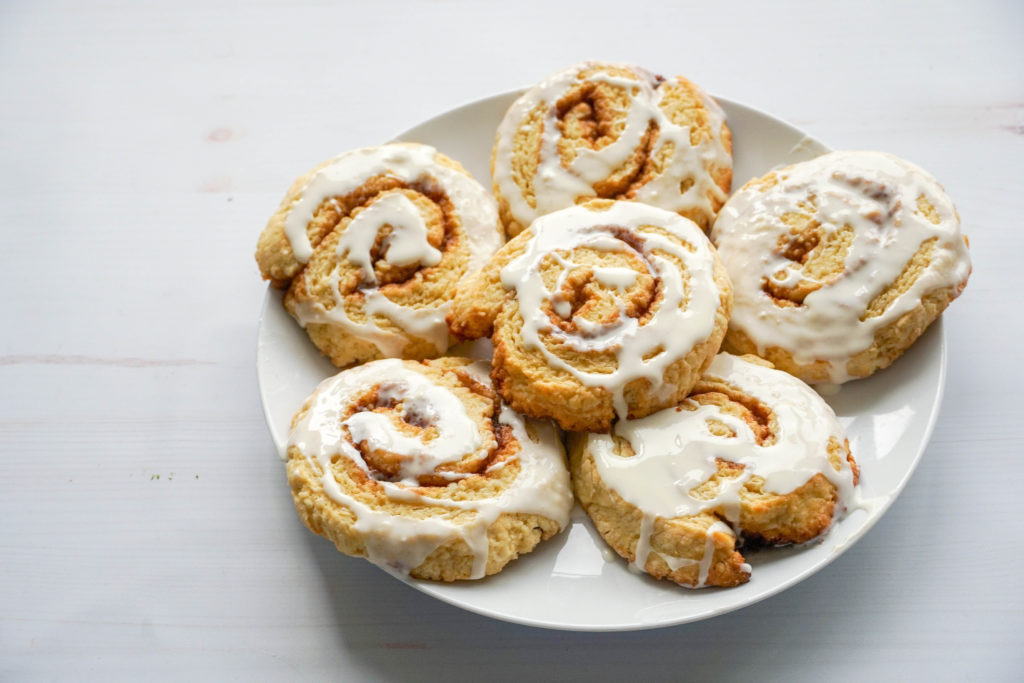
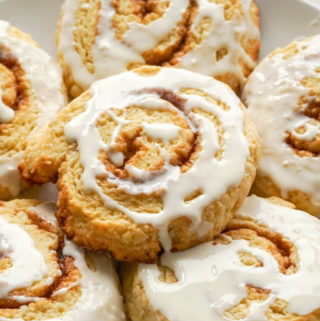
If you like the idea of work smarter, not harder—who doesn’t!—and want a bigger impact for less effort, let me introduce you to these Cinnamon Bun Scones. This recipe takes the best of scones and the best of cinnamon buns (look at that spiral!) to create an inspired treat.
What’s a Cinnamon Bun Scone?
Well, it’s a bit of both. It’s a scone-like dough but you don’t have any yeast to deal with. And that means you don’t have to WAIT, WAIT, WAIT for dough to rise. The filling requires a few steps, and the frosting does too, but both are worth it to get that spicy-sweet swirl and a decadent-feeling drizzle over the top. In a fraction of the time and effort it takes to make traditional cinnamon buns, you can have this recipe instead.
You’l want this easy scone recipe on repeat for those cold mornings, the lazy afternoons, and the impromptu guests who stop by around the holidays. Or any time, really.
Get more recipes like this in the Workweek Lunch Meal Prep Program with access to our meal planning tools, grocery list generator, and more. Start a free trial today!
What’s in these Cinnamon Bun Scones?
We’ve got our super basic scone recipe with butter, brown sugar, and cinnamon mixture. Then, of course, a cream cheese icing. Basically, this easy scone recipe has butter everywhere!
How to Make This Easy Scone Recipe
Normally, when you make scones, you cut butter into flour and then add liquid to form a shaggy dough. You pat the dough out gently and cut it into triangles with a bench knife. Or you can use a biscuit cutter in the size you want.
This recipe is different, because we need layers. And in order to achieve layers, you treat the dough as you would if you were making cinnamon buns, but with a little bit of a twist to make this flaky and delicious.
Form the dough into the shape of a rectangle. This way, when you fold the dough, it creates layers. This is sort of like laminating the dough; it’s used in the process of making croissants. Lamination is how croissants become layers of buttery flaky goodness. (Plus, all the butter).
For this easy scone recipe, you’re folding it onto itself a few times. Then, finally, you put the filling on top, and then roll the dough from the short end to the short end and boom! You’ve got a log of dough you can slice, just like a cinnamon roll.
How to Frost Cinnamon Bun Scones
This recipe calls for a classic cream cheese icing, but if you have a go-to way to frost cinnamon rolls, go for it. I highly recommend storing the icing on the side until eating these scones, unless you plan on making them for a crowd or eating them all in one day.
Tips about making and storing the frosting
This frosting can last in the fridge for 7 days in a jar or other airtight container. You can also freeze most frosting, although we haven’t tried it with this particular recipe. You’ll need to let it come to room temperature either in the fridge, defrosting slowly, or covered on the countertop for a couple of hours. But the fridge is generally the best bet because it’s a controlled environment.
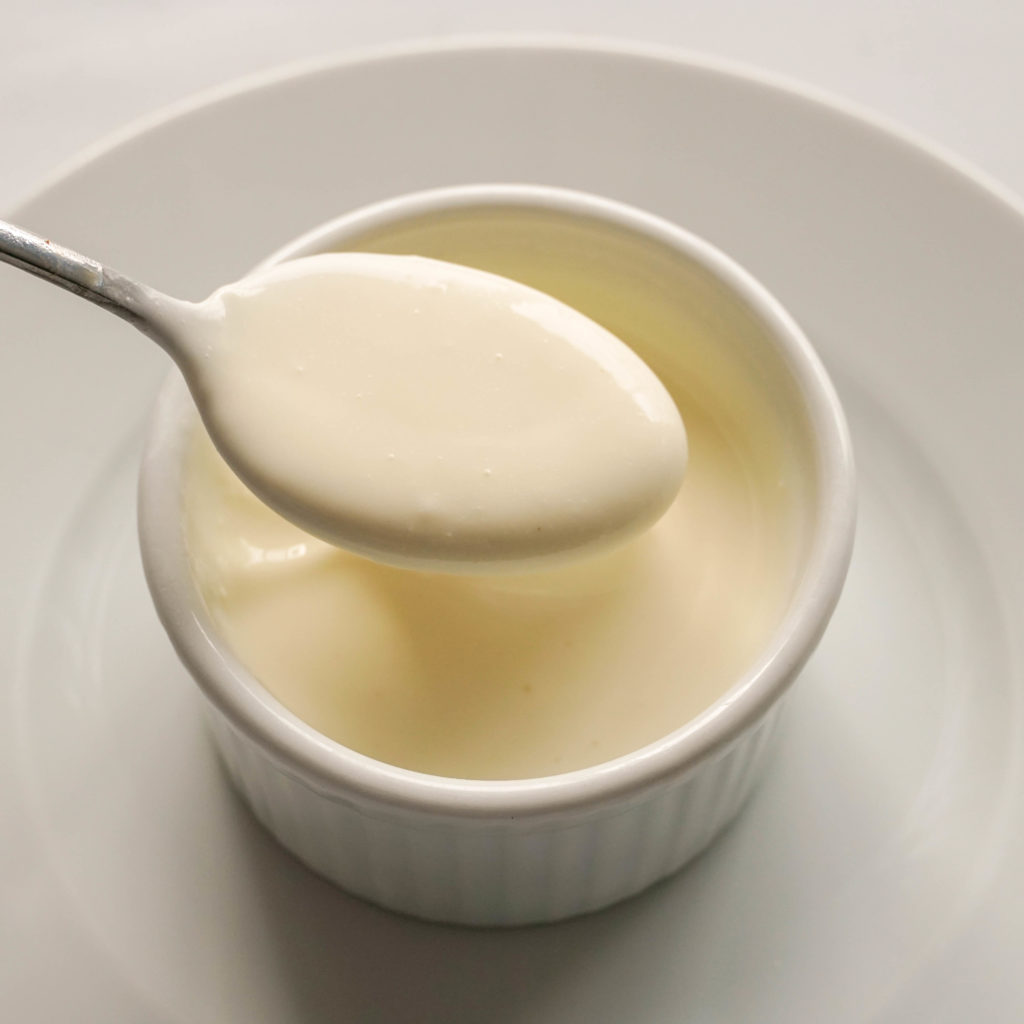
A note on my icing photographed below: I accidentally added too much liquid (I made mine with milk) to it, so it’s more like a drippy drizzle or glaze. But please do take it more slowly, adding one tablespoon of milk at a time, than I did, in order to achieve the consistency you want.
Related: Best Tips For Intuitive Eating During The Holidays
How to adapt and customize this easy scone recipe
If you’re gluten-free, use a blend of flours you trust. All-purpose GF flour works well for me! If your GF flour doesn’t have xantham gum, you’ll need to add 1/2 a teaspoon for 2 cups of flour.
If you’re vegan, throw in a flax egg which you make by combining a tablespoon of flax or chia seeds with 3 tablespoons of water. Swap the butter for a plant-based butter (the dough) and vegan cream cheese for the frosting.
If you’re dairy-free, use oil and nondairy milk to substitute for heavy cream. Use 2/3 cup rice or soy milk combined with 1/3 cup olive oil or melted dairy-free margarine.
Change the flavor! Use a little bit of coffee extract or a teaspoon or two of cooled fresh coffee to make the frosting like a coffee cinnamon roll scone.
Mix up the flour! Swap out 1/4 cup of the all-purpose flour for whole wheat or white whole wheat flour. Notice how that affects the dough’s consistency; you might need a little more liquid, but the recipe will work.
We like to use alternative flours sometimes because we get bored, but the general rule of thumb is to swap out a small proportion of all-purpose for a different flour, observe, and see how it goes.
Related: Breakfast Ideas: Our Master List of Go-To Meals
How to store these easy cinnamon bun scones
I recommend storing these in an airtight container on the counter for up to 3 days, then transferring them to the fridge (again, if there are any left!). If you want, leave some of them unfrosted and add that when you’re about to serve. We like to toast the scones before doing this. To pull this off, store the frosting separately in the fridge and let it come to room temperature; don’t attempt to heat it up. You don’t want hot frosting on a freshly toasted scone as it will become the literal definition of a hot mess!
Just a word to the wise: These scones won’t really keep their crunch, especially if you don’t have a toaster oven/stick them in the oven for a minute, but they’re still good! And they’ll still keep just fine.
Happy prepping!
Related: How Long Are Leftovers Good For? (And What to Do With Them)
Don’t forget to try our other delicious breakfast recipes!
- Vegan Banana Bread (Perfect Breakfast or Snack)
- Apple Pie Overnight Oats
- Easy, Cozy Pumpkin Muffin Recipe For Fall
- Freezer-Friendly Veggie Breakfast Burritos
- Banana Chocolate Chip Breakfast Cookies
- Berry Parfait Recipe with Homemade Granola
Cinnamon Bun Scones
Ingredients
For the filling
- 3 tablespoons butter
- 1/3 cup brown sugar light or dark
- 2 teaspoons cinnamon
For the dough
- 1/2 cup unsalted butter frozen
- 2 cups all-purpose flour see notes for GF swaps
- 1/2 cup granulated sugar
- 1/4 tsp salt
- 2-1/2 tsp baking powder
- 1/2 cup heavy cream plus extra for brushing; see notes for dairy-free swaps
- 1 large egg or flax egg, see notes
- 1 tsp vanilla extract
For the icing
- 4 ounces cream cheese
- 2 tablespoons butter softened
- 1 cup confectioners sugar
- 1/2 teaspoon vanilla extract
Instructions
- Melt the butter in the microwave or on the stove. Stir in the brown sugar and cinnamon. Transfer to the fridge until ready to use. This is your filling.
- Grate the frozen butter onto a plate. If you forgot to freeze the butter, cut it with a sharp knife into small cubes and then stick it back in the freezer for a few moments to firm up.
- Whisk together the all purpose flour, sugar, salt and baking powder in a large bowl. Add in the grated/cubed butter, using your fingers, two forks, or a pastry cutter to create a dough with pea-sized crumbs. (You can stop at this point if you are doing some prep work ahead of time; just transfer to the fridge and cover the dough.)
- In a medium bowl or measuring cup, whisk together the heavy cream, egg, and vanilla. Add the wet ingredients to the dry and mix with a spatula, wooden spoon, or a fork. The dough should be thick and sticky.
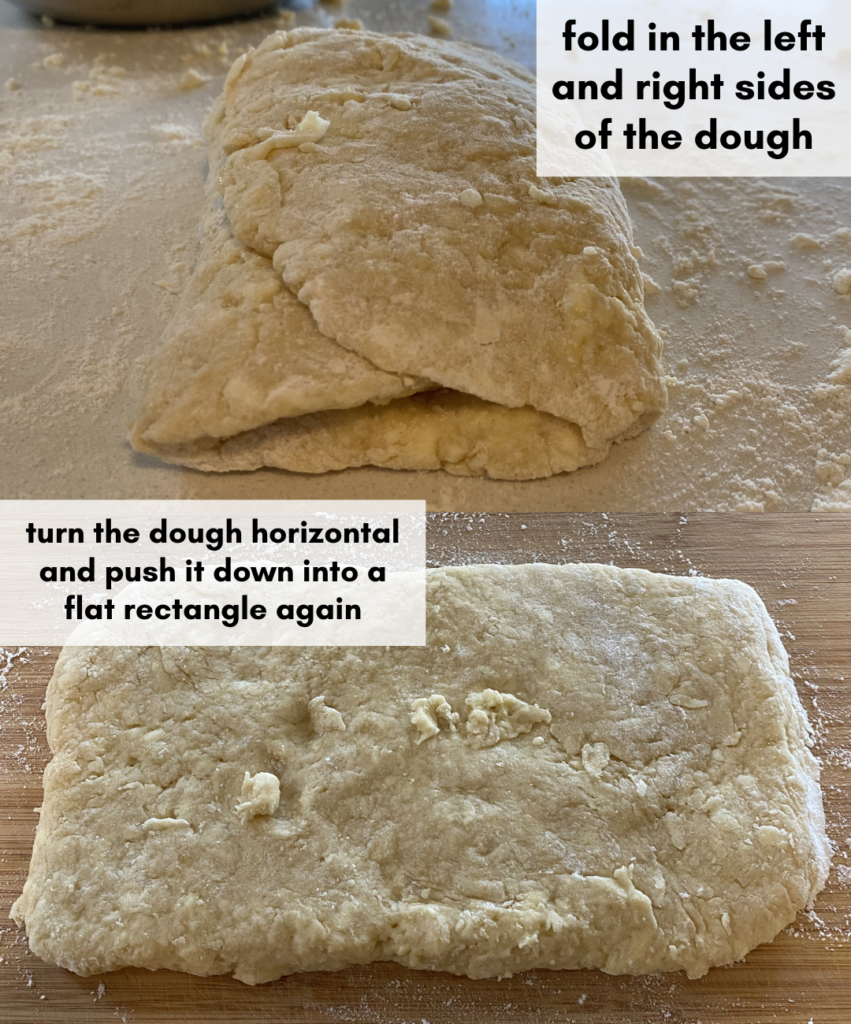
- Sprinkle a handful of flour on a clean surface or cutting board. Turn the dough onto the surface. Add flour to your hands and knead the dough gently until it forms a more cohesive ball. Form the dough into a rectangle. Fold the right side into the center, then the left side on top, almost like an envelope. Press it all down together and turn the rectangle to the right so it's horizontal again. The rectangle should be 5 inches wide and 14 inches long (13 x 35 cm).
- Use a spoon or offset spatula to spread the filling, which you've removed from the fridge, on top of the dough, as close to the edges as possible. Turn the dough so it's now vertical, with its short side closest to you. Gently gather the edge with your fingertips and roll it up, away from you, as tightly as you can to create a log of scone dough.
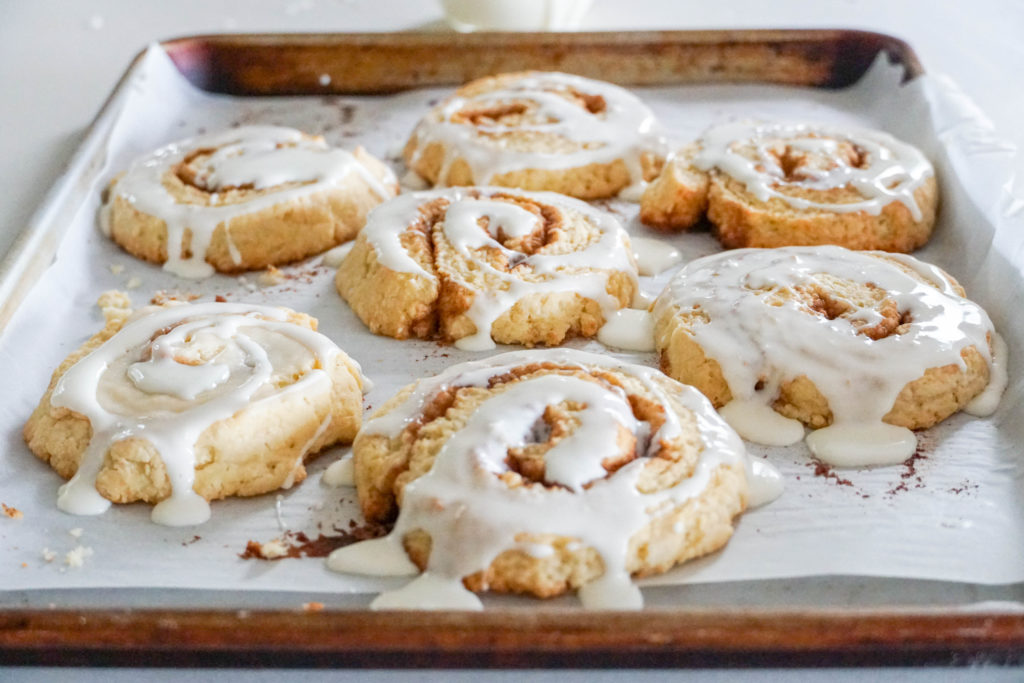
- Cut the log into eight pieces. It's okay if the dough squishes a bit; you can re-shape it into circles after it's cut. Transfer the unbaked cinnamon scones to a baking sheet and freeze for 15 minutes, or refrigerate for twice that amount of time.
- Preheat the oven to 375 F (190 C). Line a baking sheet with parchment paper. Remove the scones from the freezer and bake for 20 to 25 minutes. If they look flat, don't worry; they will expand in the oven.
- Combine the cream cheese, softened butter, confectioners sugar and vanilla in the bowl of a stand mixer, a food process or a medium bowl and a hand mixer. We recommend adding this frosting once the scones have cooled completely, and to only cover the scones you're going to consume within a few hours. You can, of course, ice them all ahead of time, but reheating them will be much messier. You can store the icing in the fridge, but you'll need to let it come to room temperature or very very gently warm it up so that it's spreadable.


Jess says
The instructions in the cinnamon roll scone video is different than the written instructions, especially with respect to baking powder/soda/